
If you have been on TikTok, Instagram, or Pinterest lately, you have probably seen it — that perfectly polished blowout with soft, flicked-in ends that looks effortlessly chic in every photo. Meet the C-curl blowout, the hairstyle of 2026 that has officially replaced the ’90s flip and bouncy supermodel curls. Made famous by Gigi Hadid and coined by her celebrity stylist, this look has become the new standard for sleek, modern blowouts.
The best part? You do not need a salon appointment to get it. With the right tools, a little patience, and the technique outlined below, you can recreate this red-carpet-worthy look right at home. Whether you have long hair, a lob, or curtain bangs, the C-curl works on nearly every length and texture.
What Is the C-Curl Blowout?
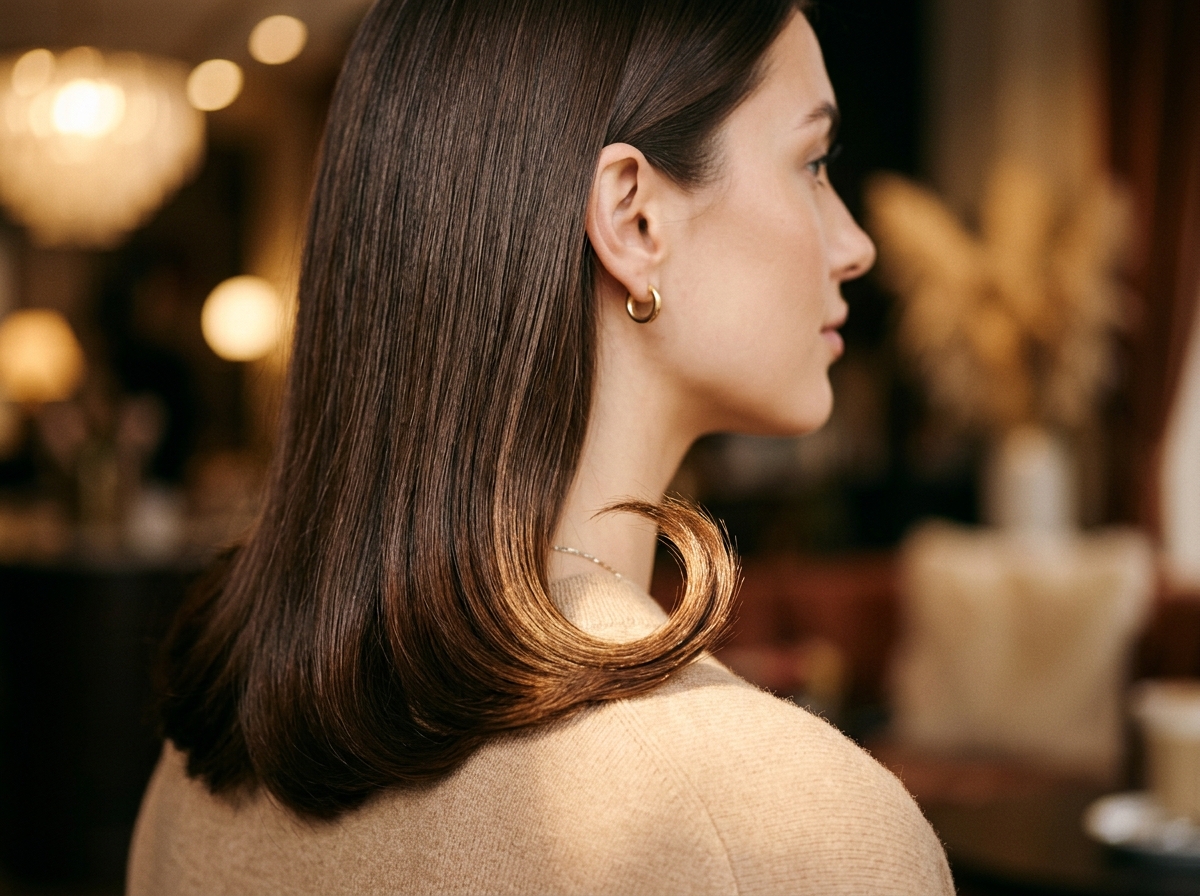
The C-curl blowout is a polished, French-inspired blow-dry style that finishes with a soft, inward “C”-shaped curve at the ends. Unlike the bouncy ’90s flip or fully curled supermodel waves, the C-curl is smoother and more structured — sleek at the roots, voluminous through the lengths, and beautifully flicked at the bottom.
According to Grazia, the look was created by celebrity hairstylist Dimitris Giannetos for Gigi Hadid, who debuted the style to the internet’s collective obsession. Giannetos has officially dubbed it the “C-Curl-Gurl” look, and it has quickly become one of the most-requested styles of the year.
Why It Is Trending in 2026
The C-curl blowout is part of the larger “quiet luxury” beauty movement defining 2026. Instead of overly relaxed beach waves or fully glamorized curls, this look is intentional, refined, and polished — yet still feels modern and wearable. It pairs perfectly with minimalist outfits, clean girl makeup, and the broader return to elevated, editorial styling.
It also flatters nearly every face shape and works with most cuts, from long layers to feathery mid-length styles to lobs with curtain bangs. That universal appeal is a big part of why it has gone viral.
What You Need Before You Start
Like any great blowout, the C-curl starts with the right prep and tools. Here is everything you need before you begin.
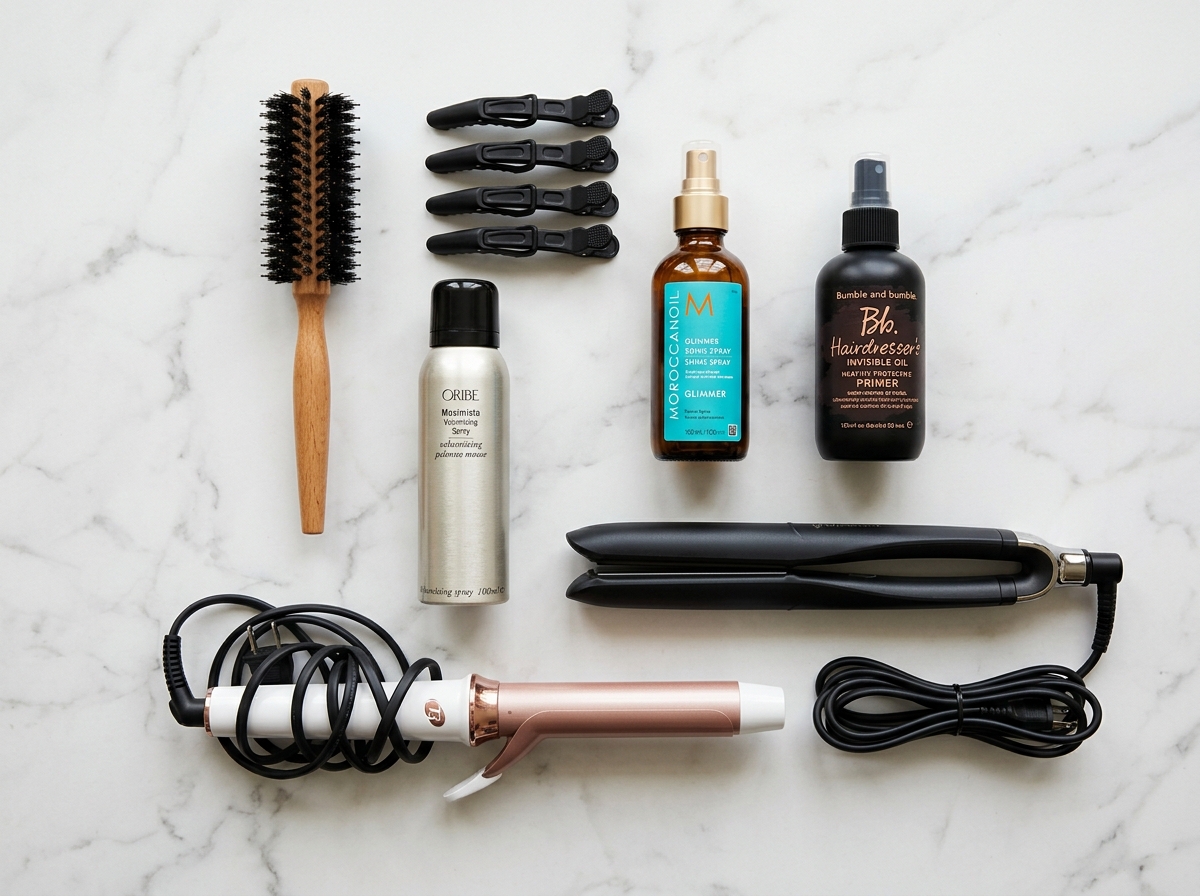
Tools
You will need a blow dryer with a concentrator nozzle, a small to medium round brush (1.5 to 2 inches wide), and a flat iron or large curling iron (1.25 to 1.5 inches). If you are a beginner, the flat iron or curling iron method is much easier to control than a round brush.
You will also need sectioning clips to keep your hair organized while you work. The smaller and more even your sections, the better the result.
Products
Your product lineup should include a heat protectant spray, a smoothing leave-in conditioner or cream, a lightweight volumizing mousse, and a finishing shine spray or light hairspray. Skip heavy waxes and pomades — they flatten the polished finish you are trying to achieve.
Step-by-Step: How to Do a C-Curl Blowout at Home
Now for the fun part. Follow these steps carefully, and you will be channeling Gigi Hadid by the end.
Step 1: Start With Clean, Prepped Hair
Wash your hair with a smoothing shampoo and conditioner. After gently towel-drying (squeeze and blot, never rub), apply a heat protectant spray from roots to ends. Follow with a small amount of volumizing mousse worked through the lengths to add lift and bounce. Finally, smooth a leave-in cream through the mid-lengths and ends to set the foundation for a sleek finish.
This is where the work pays off. A polished blowout depends entirely on healthy, well-prepared hair. To build a stronger foundation for shine and smoothness, see our guide on the hair cycling routine that is transforming haircare in 2026.
Step 2: Rough Dry Before Sectioning
Using your blow dryer on medium heat, rough dry your hair until it is about 80% dry. This step removes excess water without overworking your strands, making the styling step faster and easier. Use your fingers to gently lift at the roots for natural volume.
Step 3: Section Your Hair
Once your hair is mostly dry, part it as you normally would and divide it into 4 to 6 horizontal sections. Clip everything up except the bottom section — you will work your way up from the nape of your neck.
Smaller sections give you more control and a sharper, more defined C-curve. Aim for sections that are 1 to 2 inches wide.
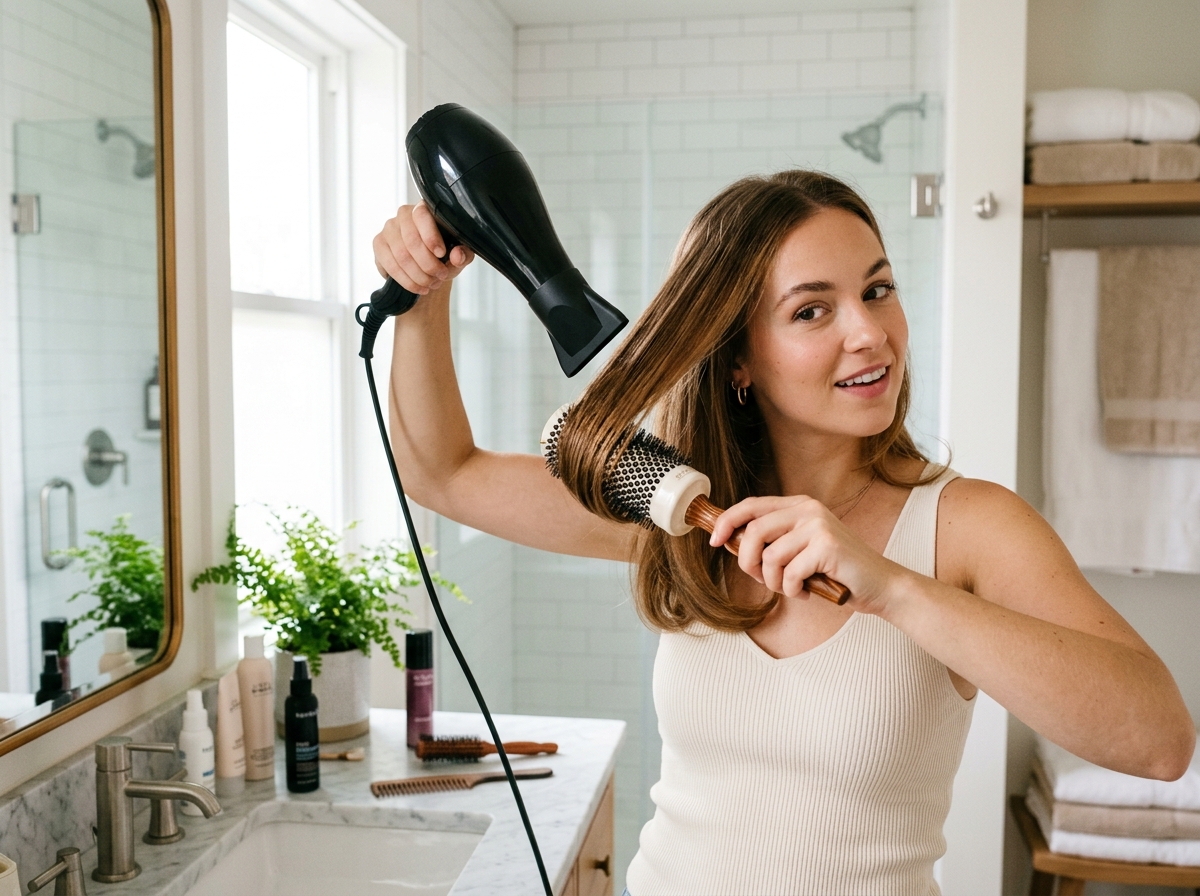
Step 4: Smooth and Shape With Your Round Brush or Flat Iron
Here is where the C-curl actually happens. There are two main methods, so pick whichever feels easier for you.
Round brush method: Place the round brush underneath a section at the roots. As you blow dry, glide the brush down the length of the hair. When you reach the ends, rotate the brush inward (toward your face) and hold for a few seconds to set the C-curve. Use the cool shot button on your blow dryer to lock in the shape.
Flat iron or curling iron method: Glide the flat iron smoothly down the section. When you reach the last 2 to 3 inches, rotate the iron inward in a half-turn motion to create the C-shape. If using a curling iron, wrap the ends around the barrel briefly without curling the entire length — just bend the ends inward.
Step 5: Work Section by Section
Repeat the process on every section, moving upward from the nape to the crown. Take your time and keep the C-shape consistent on each piece. The face-framing sections are especially important — these are what give the look its signature “flick.”
If you have curtain bangs or face-framing layers, gently bend those inward too for a cohesive finish.
Step 6: Let It Cool, Then Set
This is the most overlooked step — and the one that makes your C-curl actually last. After styling each section, let your hair fully cool before touching it. Once cooled, gently break up the shape with your fingers or a wide-tooth comb. Do not over-brush; you want to keep the structure of the curve.
Finish with a light mist of hairspray or shine spray. Avoid stiff-hold sprays, which can flatten the sleek, glossy finish.
Image 3 here
Tips to Make Your C-Curl Blowout Last
You have put in the effort — here is how to keep your blowout looking fresh for 2 to 3 days.
Sleep Smart
Loosely tie your hair into a low, loose ponytail or wrap it in a silk scarf before bed. A silk or satin pillowcase reduces friction and prevents your curl from going limp overnight.
Refresh With Dry Shampoo
On day two or three, lightly spritz dry shampoo at the roots to absorb oil and add fresh volume. Then use a flat iron or curling iron to quickly re-bend any sections where the C-curve has loosened.
Skip the Shower Steam
Hot showers create steam that quickly relaxes your blowout. Wear a shower cap and run cooler water to extend the life of your style.
Mind the Frizz
If you live somewhere humid, finish your style with an anti-humidity shine spray. The C-curl looks best when it is smooth, polished, and frizz-free. If you are looking for an even sleeker finish, check out our guide on how to get glass hair at home for tips on creating mirror-like shine.
Who Does the C-Curl Blowout Suit Best?
The beauty of the C-curl is that it works on nearly every hair type and face shape. It looks especially stunning on mid-length to long hair with layers, but it also flatters lobs, blunt cuts, and styles with curtain bangs. If you have shorter hair like a pixie or bixie, the C-curl is harder to recreate, though you can adapt the inward flick at the ends for a similar effect.
In terms of face shape, the soft inward curve helps frame the face and softens sharper features, making it universally flattering. For oval faces, it elongates beautifully. For round or square faces, the inward flick adds dimension and balance.
Channel Your Inner C-Curl-Gurl
The C-curl blowout is more than a trend — it is the kind of polished, intentional hairstyle that elevates any outfit, any occasion, and any mood. It is the perfect balance of effortless and elegant, and once you nail the technique, it will quickly become your go-to look.
So grab your round brush or flat iron, queue up your favorite playlist, and give yourself 20 to 30 minutes to recreate the most viral blowout of 2026. Gigi Hadid would approve — and so will every selfie you take afterward.